
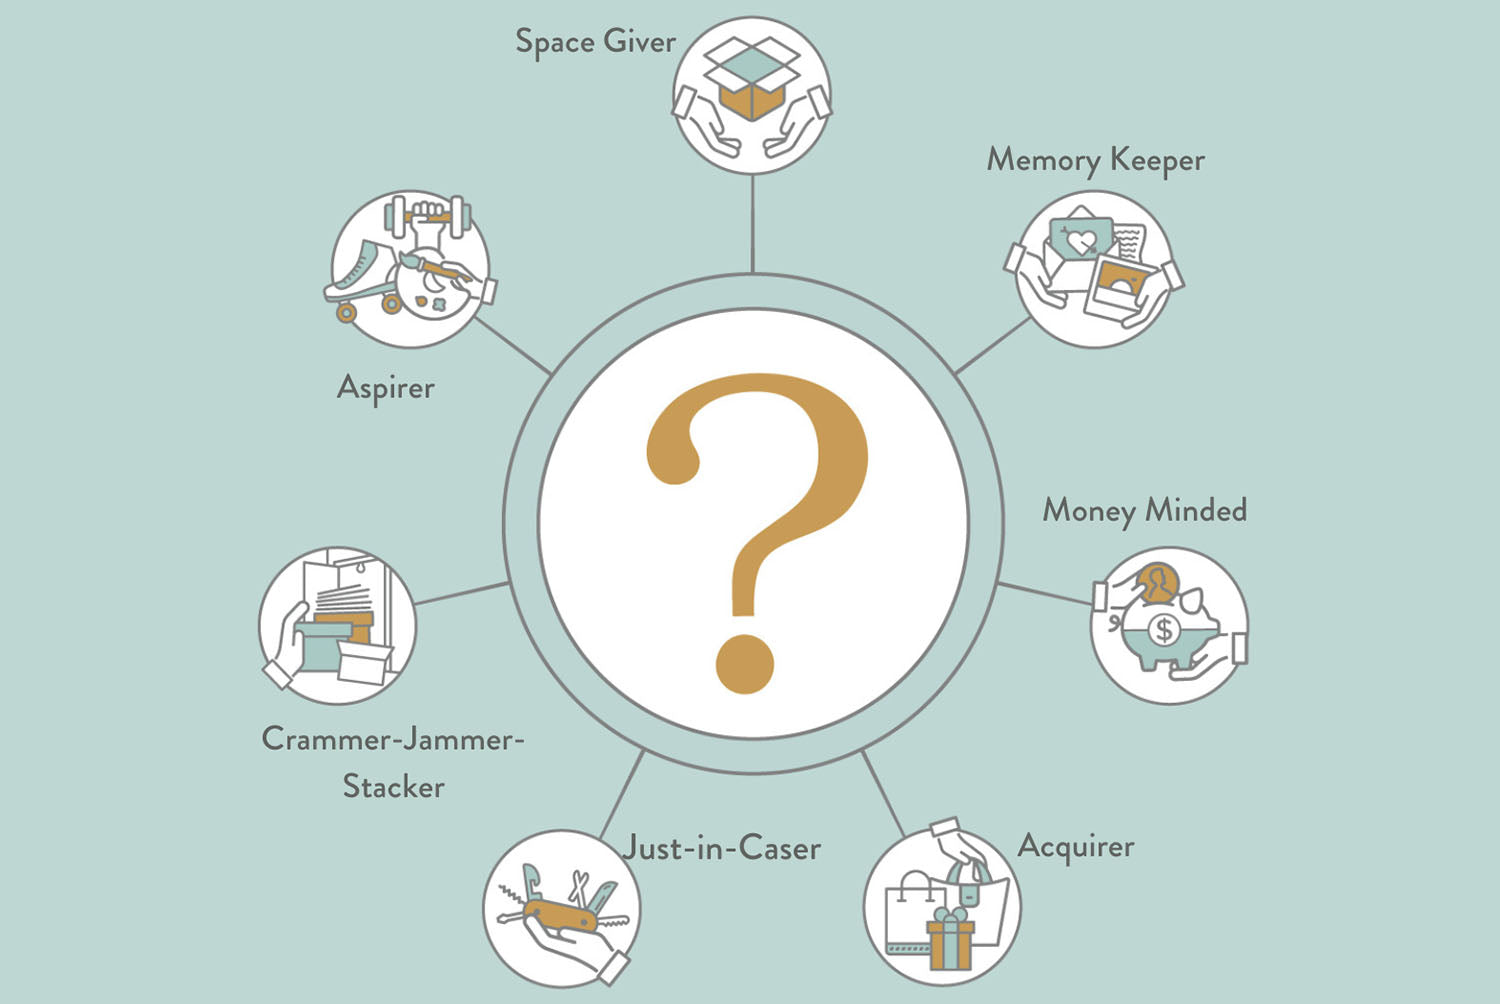

Over the last decade, we have spent thousands of hours working closely with clients as we untangle the chaos in their lives. Our Bees recognize that in order to get to the heart of a clutter problem, we need to understand what is preventing folks from getting and staying organized. We developed the Organizing Profiles to give our organizers (and you!) a head start in figuring out the relationship between you and all of your stuff. You can find out which profile most closely represents you by taking our short Profile Quiz! Understanding the relationship between you and your clutter can BEE the first step toward finally taming the disorganization in your home.

Space Givers are people who frequently give up their storage space for others. Whether it’s keeping a few crates for your sister, letting your neighbor store their excess in your shed, or allowing your grown children to keep all of their memorabilia in their childhood bedroom even though they now own their own home, Space Givers have a hard time saying no to requests for storage. For Space Givers, the clutter relationship is not with the items, but with the owners of the items.
If you are in the habit of prioritizing others’ needs over your own, it can be a challenge to give yourself permission to reclaim your space. But if you want to get control of your clutter, you will need to have conversations with the owners of the items you are storing to make a plan and timeline for when they can reclaim their stuff—so that you can reclaim your space!
Memory Keepers tend to be deeply sentimental and nostalgic, and they hold on to items as a way of preserving family history and precious memories. They worry that getting rid of an item that has emotions attached to it will erase the memory—or that they’ll feel guilty about letting things go that have sentimental value. For Memory Keepers, the clutter relationship is not with the items, but with the memory they represent.
If you are a Memory Keeper, try to remind yourself that if everything is special, then nothing is special. Give yourself permission to hold on to those items that are most meaningful to you, and let go of those things that you feel obligated to keep but bring you no happiness.

If you are the kind of person who hates throwing away things because it feels wasteful, you just might fit into this category. Our Money-Minded folks are cost-conscious and try not to spend money—even on things that really need an update. We find that they often feel guilty getting rid of unused items, so they hold onto things on the off-chance that someday, somewhere, somehow, they’ll be able to put the items to use. For the Money-Minded, the clutter relationship is not with the items, but with the money that was spent on them.
If this describes you, ask yourself if you would truly miss the item if it was gone—how often do you actually use it? If you don’t still love, need, or use the item, it’s okay to let it go. Maybe you can even sell it to recoup some of its cost!
Are you one of those people who other people turn to in an emergency—the neighbor that has every conceivable tool in their garage or appliance in their kitchen? Do you hear yourself consider getting rid of something but then decide to keep it just to be on the safe side? If you are always planning ahead for hypothetical needs and wants, you might be a Just-In-Caser. For our Just-In-Casers, the clutter relationship is purely circumstantial, not personal.
As we like to tell our clients, “Store things at the store!” Do you really need to stockpile items that aren’t relevant in your life right now? When was the last time you actually needed that 16th folding chair or the gourmet sandwich press? Prioritize your time, money, and space for your current reality rather than what might happen.

Do you find yourself picking up items simply because they’re a great deal or because something caught your eye in the moment? Acquirers love shopping—it’s fun, exciting, and rewarding. But sometimes, the joy comes from the act of acquiring rather than from the actual items themselves. This can lead to an overwhelming amount of stuff that doesn’t always have a clear purpose or place. For Acquirers, the relationship is not with the items, but with the thrill of the hunt.
If you’re an Acquirer, try to focus on quality over quantity. Before bringing something new into your home, ask yourself whether you really need it or if you already own something similar. Being mindful about what you buy can help you enjoy the thrill of the hunt without accumulating unnecessary clutter.
Your home looks neat and tidy—until someone opens a drawer, a closet, or (heaven forbid) the garage. Crammer-Jammer-Stackers are masters of the quick clean-up, tucking things away wherever they’ll fit. While this method might make a space look organized, there’s usually no system in place, which can lead to frustration when trying to find things later. Over time, this type of clutter can become stressful and overwhelming—even if it’s mostly out of sight. For Crammer-Jammer-Stackers, the clutter relationship is burdensome and overwhelming.
If you suspect you might be a Crammer-Jammer-Stacker, ask yourself whether this system is working for you! Is your system wasting your time and money and causing you extra stress? Instead of stashing things wherever they fit, try to tame the chaos one space at a time. That will allow you to feel a sense of calm, not dread, when you open that drawer or closet.

Aspirers are dreamers. They have big plans for the future—whether it’s learning to paint, taking up golf, or starting that strength-training program your friend told you about. Because of this, they tend to accumulate items that represent their future selves rather than their current reality. If your house is filled with unopened craft supplies, unused gym equipment, or stacks of books waiting to be read, you might be an Aspirer. With Aspirers, the clutter relationship is not with the items, but with the potential that those items represent.
If you think you might be an Aspirer, give yourself grace. It’s utterly wonderful to have aspirations and goals, but it’s also okay to change your mind. Before holding onto something indefinitely, ask yourself whether holding on to the item makes you feel inspired or guilty? Instead of keeping physical reminders of who you want to be, consider creating a vision board or a goal list—and hold off on purchases until you have blocked out the time and mental energy to begin!
Understanding your organizing profile can be the first step toward creating a home that feels more functional, peaceful, and you. The key is recognizing the patterns that keep you stuck in clutter and making small, intentional changes that help you take control of your space. And if you ever need help simplifying your Hive, you know you can call in the Bees!

No matter where you look in this beautiful country, Mother Nature keeps us on our toes! Wildfires on the West Coast, hurricanes down South, tornadoes across the Midwest, record-breaking snowstorms up North—unexpected emergencies happen every year and everywhere! If you don’t have your emergency preparedness ducks in a row, you are not alone. Most of the families we work with tell us the same thing: They know they should be prepared, but between work, school schedules, and everyday life, it just never quite makes it to the top of the list! While you can’t control the weather, you absolutely can control how prepared you are! The best time to brainstorm, purchase, and organize your emergency preparedness kit is when there is no emergency on the horizon. Taking steps to prepare for an emergency isn’t about panicking—it’s about getting yourself organized while you have mental clarity to think through your family’s specific needs. Consider this your gentle nudge (and helpful guide!) to getting your home, car, and loved ones ready for an emergency one step at a time. And just remember that nothing here needs to happen all at once, nothing needs to be perfect, but every piece will make the next emergency alert feel a little less spooky! 1. Build Your Essentials Kit Think of your Essentials Kit as the foundation that everything else builds on. Get these basics gathered and organized first because they are the items most likely to be needed across all sorts of situations. You’ll want to choose an easy-to-access location for your Essentials Kit, like a hall closet or laundry room. Your emergency kit doesn’t have to be fancy—a couple of sturdy crates would work great! Start with the following list: Water (1 gallon per person/pet per day—minimum of a 3-day supply) Nonperishable food (and a can opener if you are including canned goods) Plastic or paper plates, cups, and utensils First-aid kit Flashlight (We love the combos that function as flashlights, emergency radios, and electronics chargers that you can power through solar panels or hand-cranking!) Charged portable battery pack and cord Cash in a variety of denominations A 7-day supply of medications (both prescription and over-the-counter) Hand sanitizer, skin-safe wet wipes, and bleach wipes Check out the emergency kit recommendations on Ready.gov and RedCross.org to think through other items that make sense for your home. Once you’ve pulled these items together and secured them in an accessible crate or two, you’ve done the hardest part! Everything from here on out just builds on the Essentials Kit. 2. Add What You Need to Hunker Down at Home Many emergencies are handled by settling in at home for a few days—think blizzards, tropical storms, and extended power outages. You can save yourself stress and last-minute shopping trips if you plan ahead for what you might need (especially if the electricity goes out!). After a giant storm or other natural event, it can be helpful to have a few things handy to help with securing your home. A couple of rolls of thick plastic sheeting (with scissors and duct tape), dust masks, work gloves, and garbage bags can all come in handy. Think also about the comfort needs of the specific people or pets in your family. Would a deck of cards, a new coloring book, a few compact board games, extra batteries, candles and matches, or a spare leash come in handy in a lengthy power outage? Extra toilet paper? Put them in your emergency crates! 3. Build an Emergency Kit for Your Vehicles When you are heading out on a road trip—whether across the country or across the county—you never know when you’ll be stranded on the side of the road due to traffic, weather, or car problems. Keeping a thoughtfully stocked emergency kit in each of your vehicles can save the day, especially if you’re traveling in treacherous conditions! You can buy complete vehicle emergency kits or build your own and organize it in a sturdy backpack. Here are a few items we recommend: Cash in a range of denominations Jumper cables Tire pressure gauge Basic multipurpose tool Nonperishable snacks and a jug of water that can withstand freezing Mylar thermal blankets Work gloves An emergency beacon light First-aid kit A hand-crank flashlight/charger combo that we mentioned above Window breaker and seatbelt cutter The remaining items you need to include depend on your climate! If you are traveling in Minnesota in January, you’d add an ice scraper, snow shovel, hand warmers, and waterproof hats and gloves. If you’re cruising through Nevada in the summer, you’d add extra water, sports drink powder packets, and sun protection (sunblock, wide-brimmed hats, sunglasses, and a tarp or umbrella for shade). 4. Pack a Bag to Grab and Go in an Evacuation If you need to evacuate your home quickly for any reason, minutes count. The less time you spend wondering what to bring and wandering around looking for items, the better! Think about a backpack (or two) that you could grab quickly in case you need to relocate for a few hours or days. Store your Go Bag with your other emergency essentials and remind everyone in your home where to find it if needed. Your Go Bag should include: Items from your Essentials Kit like the battery pack, first-aid kit, cash, hand-cranked flashlight/charger, and medications Photocopies of passports, birth certificates, deeds/leases, insurance policies, and emergency contacts — tuck them in a fireproof and waterproof pouch (less than $20 on Amazon!) A list of names and full contact information for your emergency contacts A change of clothes for every family member A simple toiletries kit (disposable toothbrushes, hand sanitizer, soap, deodorant, and other items that will make everyone more comfortable for a few days) When preparing for an emergency, brainstorm what other supplies would be helpful for the folks in your group if you were displaced to a shelter for a few days (like baby formula and purified water, feminine products, or a stuffed animal). 5. Stay Informed BEEfore, During, and After an Emergency Having the right supplies is crucial, but you also need to know what’s actually happening around you—especially in a power outage. There are so many ways to help you stay in the loop during an emergency so that you know what’s best for your family: Sign up for local emergency alerts through your city’s or county’s website Download the Red Cross Emergency app, which offers real-time weather alerts, open shelter locations, simple first-aid guidance, and more Talk through your evacuation and meet-up plans with your family Have access to a NOAA weather radio—several of the hand-cranked charger/flashlight combos we suggested above include a built-in weather radio! Always have a portable battery pack fully charged None of this needs to be overwhelming! But spending a few minutes now downloading apps and thinking through how you’ll maintain access to information in an emergency will keep you from scrambling to figure out where to look when it actually matters. 6. Maintain Your Emergency Organization Getting ready for an emergency is not a set-it-and-forget-it practice! An emergency kit with expired medication and a non-working flashlight won’t help when you need it most. Use the same calendar checkpoints your fire department suggests for testing smoke detectors—when the clocks change each spring and fall—to refresh your emergency supplies (and your memory about what’s in them!). Swap out expired food, test batteries, review evacuation plans, make sure the apps are where you can find them on your phone, and think through anything that’s changed for your family since your last check-in. A new pet? A new medication? A new size of diaper? Once you’ve got your emergency kit and plans in place, maintaining them truly comes down to spending just a few minutes twice a year. We promise you that it’s worth it for the peace of mind all year long! Organizing a home emergency kit doesn’t have to happen all at once. Focus on gathering the most critical items first, and then add the others as you are able. If the thought of choosing, sorting, and labeling emergency supplies feels overwhelming for you, you don’t have to do it alone. Our Bees are standing by to help you simplify (and safeguard) your hive! Find us near you.
Learn more
We are long past the days when every family has a parent staying home full-time, making sure the house is tidy, the meals are nourishing, and every permission slip is signed and delivered on time. A recent study by Pew Research Center revealed that the number of families with one parent staying at home has dropped by half in just the last few decades. More families than ever before are turning to others to help carry the load, whether that’s a full-time nanny, a family assistant, a mother’s helper, or another kind of household support. If you're taking the leap of finding, interviewing, and hiring a new family helper, Hello Nanny! is a great resource for navigating those early steps with confidence. But the work of getting your new hire up to speed doesn’t end after the reference checks and contracts. You also need to prepare the physical environment that your new helper is actually stepping into so that they aren’t guessing where things live and how your household actually runs. That guesswork adds up fast in the first few days, and it's often what makes an otherwise great match feel shakier than it needs to. A little bit of setup on your end and preparing your home for a new nanny can be the difference between a rocky first week and an employee who feels confident and capable from day one! 6 Things to Do to Prepare Your Home Before Your Nanny or Household Employee’s First Day Preparing your home for a new nanny doesn’t mean overhauling your entire space before your employee’s first day. You just need a handful of simple systems in place so they can find what they need and understand how your family operates, without having to interrupt you every few minutes to ask. 1. Build a household command center Pick one central spot, like the side of the fridge or a cabinet in the mudroom, that you can direct household helpers to right away. The idea is to have a single place to put the family calendar, emergency contacts, and any specific details for the day, so it becomes the first place your helper checks when they arrive. Over time, this spot can also hold things like upcoming appointment reminders or a note about a schedule change, which saves you from having to remember to relay every small update in person or by text. 2. Start labeling Sometimes the organizational systems that work well for a family don’t make obvious sense to someone new. Save everyone the guesswork by spending an hour with your trusty labelmaker on the drawers, bins, and cabinets in the kitchen, playroom, and kids’ bathroom. If you don’t have a label maker, painter’s tape and a sharpie will do! Think through the spaces your new employee will actually be using throughout the day: the pantry shelf with kid snacks, the drawer with bibs and burp cloths, the cabinet with the first-aid supplies. It’s a small investment of time, but will pay off constantly in those early weeks when everyone is still learning the rhythm of the house. 3. Document daily routines Take the time to write down the specific routines you use with your kids, even the details that feel almost too obvious to mention. What’s second nature to you after months or years of doing it is brand-new information to someone walking into your home for the first time. Pay special attention to writing down the routines around waking up, falling asleep, and eating meals, since these are often the moments kids feel most sensitive to change. If you use a particular order for the nightly routine, or a certain way of handling mealtime refusals, write it down exactly as you say it. These small, specific details can make a big difference in helping a child feel like the routine hasn’t actually changed, even though the person guiding it has. Once you write this all down, ensure your nanny or household support has a copy too—we suggest printing it out and emailing a copy. 4. Create a household manual When you are staying at a hotel or Airbnb, you are often provided a binder with helpful tips about your stay. We strongly recommend creating something similar for your new babysitter, nanny, or family helper. Include: The daily and weekly schedules for your family Meal preferences, allergies, and feeding instructions Emergency contacts, including next-door neighbors, your pediatrician, poison control, and a nurse line House rules around screen time, snacks, discipline, or other sticking points specific to your family Home logistics like the Wi-Fi password, trash and recycling days, and alarm codes Pet instructions, if applicable The household manual doesn’t need to be fancy. A simple binder or a shared Google doc both work, as long as it’s easy for your helper to find and easy for you to update. 5. Create a communication plan (and stick to it) A household manual covers how things generally work, but day-to-day handoffs need something more immediate. How did nap time go? Did anyone have a rough afternoon? Is there anything you need to know before tomorrow? A shared notes app, a group text thread, or even a simple whiteboard in the command center can carry that ongoing conversation. Some families find it helpful to agree on a short daily rundown covering naps, meals, activities, and mood, so nothing important slips through the cracks on a busy evening. Consistent and transparent communication is key for keeping your household humming along once the initial setup is done. 6. Hold space for your helper As you’re getting ready to welcome your family helper into your home, take a few minutes to think through their needs. Where should they park? Where can they hang their jacket? Is there a dedicated spot in the fridge to tuck their lunch? Thinking this through before they arrive does more than just smooth out logistics. It signals that they belong here, which goes a long way toward helping someone feel comfortable and settled in a brand new environment. Maintaining Systems Once Your Helper is in Place Knowing how to prepare your home for a new nanny day one is a wonderful start, but these systems work best when they keep evolving alongside your family! Revisit the household manual and command center whenever a routine changes, whether that’s a new nap schedule, a new allergy, or a new after-school activity. Pick a regular day and time to check in with your helper to ask what’s working well, what’s still feeling rocky, and what they need to be their best self in the role. Even a short, low-pressure conversation once a month can catch the small frustrations before they turn into bigger ones—for both you AND your helper! It’s also worth remembering that these systems aren’t set in stone. As your kids grow, schedules shift, and your helper settles into the role and develops their own instincts for how things run, your systems should shift right along with them. A manual that gets dusty in a drawer isn’t doing anyone much good, but one that gets updated and referenced regularly becomes a real, living tool for your household. It can be a lifesaver for the other helpers in your life too, whether it’s your mother-in-law in town for the week or a last-minute babysitter you called so that you and your spouse can have a date night! Every family’s needs are different and that’s okay. If you need help thinking through how to better organize your space for the helpers in your life, you know you can call in the Bees!
Learn more
When people are overwhelmed with clutter, they sometimes think that purchasing a set of matching crates or baskets will magically solve their problems. But not every product is worth your hard-earned cash, and not every organizing hack you see on TikTok actually makes sense in the real world. In this blog, we’re bringing you time-tested organizing products and strategies that our Bees across the country stand by—and calling out those things that you should leave behind! But First: PURGE! One of the biggest mistakes people make when they are tackling a home organizing project on their own is to run to the nearest box store and buy a trunkload of organizing products. Oh, honey, don’t do it! It’s a waste of time, money, and energy to buy products before you take the time to purge. We’ve talked you through our Power Purge to help you break through the organizational paralysis that often sets in. When you are organizing any space, whether it’s your bedroom, garage, or back-yard, you absolutely must start with getting rid of the excess. Once you are down to just the items you intend to keep, then it’s time to figure out exactly what kind of storage products will best fit. Purge first, then purchase (or reuse what you already have!). Choose Individuals, NOT Sets Whether we are talking about baskets, containers, organizing trays, or crates, there is virtually no chance that your home’s needs exactly match the items sold as a set. What you end up with is bins or trays that don’t line up with the shape, size, or number of items you own. You also end up with even more clutter—this time in the form of extra containers or trays from the set that you don’t actually need. Instead of buying sets, choose individual pieces that fit the items you are planning to contain. Have we mentioned how important it is to purge and sort before you buy any organizing products? Choose Adjustable Risers, NOT Fixed Risers When our professional home organizers redesign a pantry, we love using shelf risers so that everything is visible—we like to call it stadium seating for cans! Cabinet risers can be wonderful, but not if you get the ones that don’t extend. Make sure you measure your cabinets and find risers that can extend to the entire length. Otherwise you’re just creating a space where things will be harder to find as items fall off the sides. Choose Turntables with Removable Inserts, NOT Fixed Turntables You’ve heard us heap praise on the humble Lazy Susan in the past, but not all turntables are worth their weight. When you are selecting your turntable, make sure that if it is divided into sections, either those dividers are removable/adjustable, or you are SURE that the fixed dividers fit whatever you intend to store in the turntable. Choose Matching Hangers, NOT Cascading Hangers Cascading hangers seem like a great idea. People buy these to save space, but they end up causing trouble because they are bulky and make clothes harder to see. Ultimately, most folks stop bothering to hang items on them at all. Instead of putting money into cascading hangers—or any other kind of gimmicky hanger—put your money into buying matching velvet or acrylic hangers. Not only do they save space, but they transform your closet into your own boutique with minimal cost! Choose Single Hooks, NOT Mounted Hook Panels When you are organizing a space that would benefit from installing hooks, we recommend that you look into purchasing single Command hooks rather than a panel with the hooks already mounted on it. That way, you can choose the numbers, style, and spacing between hooks to better match your individual needs. And best of all—they are removable if you need to edit your decision! Choose Adjustable Drawer Organizers, NOT Rigid Trays Drawers come in all shapes and sizes, and no two homes have the exact same configuration of spatulas, serving spoons, and random kitchen gadgets. When you think of it like that, how would it make any sense to buy a cookie-cutter drawer organizer? There are so many great drawer organizing products and options out there that can expand and be reconfigured based on the dimensions of your drawer and the shape and size of the items you are attempting to fit inside. Did you remember to purge first? No one needs multiple potato mashers, we promise. Choose Bins, NOT Toy Chests Toy chests can be so darling to look at and can really tie a room together. But if you’ve ever actually owned a toy chest, you know they are a black hole for toys. Anything that sinks to the bottom of that pile of plastic is unlikely to see the light of day anytime soon. And if you’ve ever cleaned out a toy chest, you know they are a great place for dust, pet hair, and goldfish crackers to collect. When our professional organizers tackle a playroom or child’s bedroom, we usually use open bins or cubes in a bookcase. You can divide by general categories (LEGO, Hot Wheels, art supplies, etc.) so that items are easy for kids to find but are even easier for kids to put away. We’ve written before about how to help kids develop their own organizational skills and this is a great way to start! Choose Shelves and Dividers, NOT Hanging Closet Organizers We’ve tried using hanging closet organizers and they rarely work for most people’s needs. It’s difficult to see into them, so items regularly get shoved to the back and forgotten. After a few months, they are still hanging out in the closet taking up space, but the owner is just using them to store the stuff they should have purged in the first place. Instead, opt for closet organizing products with a fixed shelf (even a simple bookshelf will do) and with acrylic shelf dividers to keep everything organized, visible, and accessible. Choose Single Hat Hangers, NOT Hat Organizer Sets We love the look of hat organizers, but what are the chances that a panel with a pre-set number of hooks will match the number of hats you have now or next year? Instead of hat racks and hangers, opt for packages of individual hat hooks. You can space them in a way that works for your assortment of hats as well as the wall you are placing them on, plus you can easily expand or contract the collection as needed in the future. Choose Restockable Staples, NOT One-Time Finds We understand the impulse to grab a couple of cute baskets at HomeGoods to help you with an organizing project at home or work. But when the Bees professionally organize a space, we try to think ahead so that the system we are putting in place will be able to adapt to future needs. Part of that is purchasing the best organizing products that we know we will be able to find again in the future if we need to add more or adjust the sizing. We absolutely love the Everything Organizer line of products that can be found at The Container Store (and NO, we aren’t getting any kickbacks for mentioning their products by name!). They come in an extensive range of shapes and sizes, are durable and affordable, and you can clearly see what you have! Choosing the best organizing products is an investment in maintaining the systems that you are putting into place. But for them to be effective, they need to be adjustable and individualized to suit your unique needs. If you feel stuck in any part of the process—from undertaking the Power Purge to selecting the right organizing products, reach out for help. Our Bees are standing by to help you simplify your hive!
Learn more