

Just BEEgin – Conquer the Chaos and Love Your Space
Think about a part of your home or life that is completely chaotic. Is it organizing your garage? Your refrigerator? A junk drawer? The box full of mystery cords that you can’t bring yourself to throw away, Just In Case?
Have you ever come home after a lovely day feeling energized and content—but then your mood sours the second you walk through the door? If you are like us (and our thousands of clients), staring your chaos in the eyes can make you feel embarrassed, overwhelmed, and even a bit hopeless.
You know that you need to wrangle this chaotic area of your life. You understand that your disorganization is costing you precious time and money—and that it’s impacting your ability to focus on the people and activities that bring your life the most meaning. The challenge isn’t knowing that you need to make a change—it’s figuring out where to BEEgin!
When you have multiple areas in your home that are overwhelmed with clutter, it’s tempting to look the other way—or to turn around and walk right back out of your house! But you don’t need to let the clutter get the best of you. All you really need is time and a PLAN (our expert decluttering steps).
1 Pick One Area
We know that you have countless nooks and crannies in your home that need some TLC, but you can’t do everything everywhere all at once. Start small with just one area—yes, ONE. Will you pick the spot that’s the biggest eyesore when you walk in the door? The junk drawer that wastes your time as you paw through it looking for a key or a flathead screwdriver? Your purse that’s like a black hole devouring items that might never be seen again?
2 Schedule Time
Unfortunately, your house can’t be organized with just a Mary Poppins-style snap of the fingers. Taming the chaos takes time.
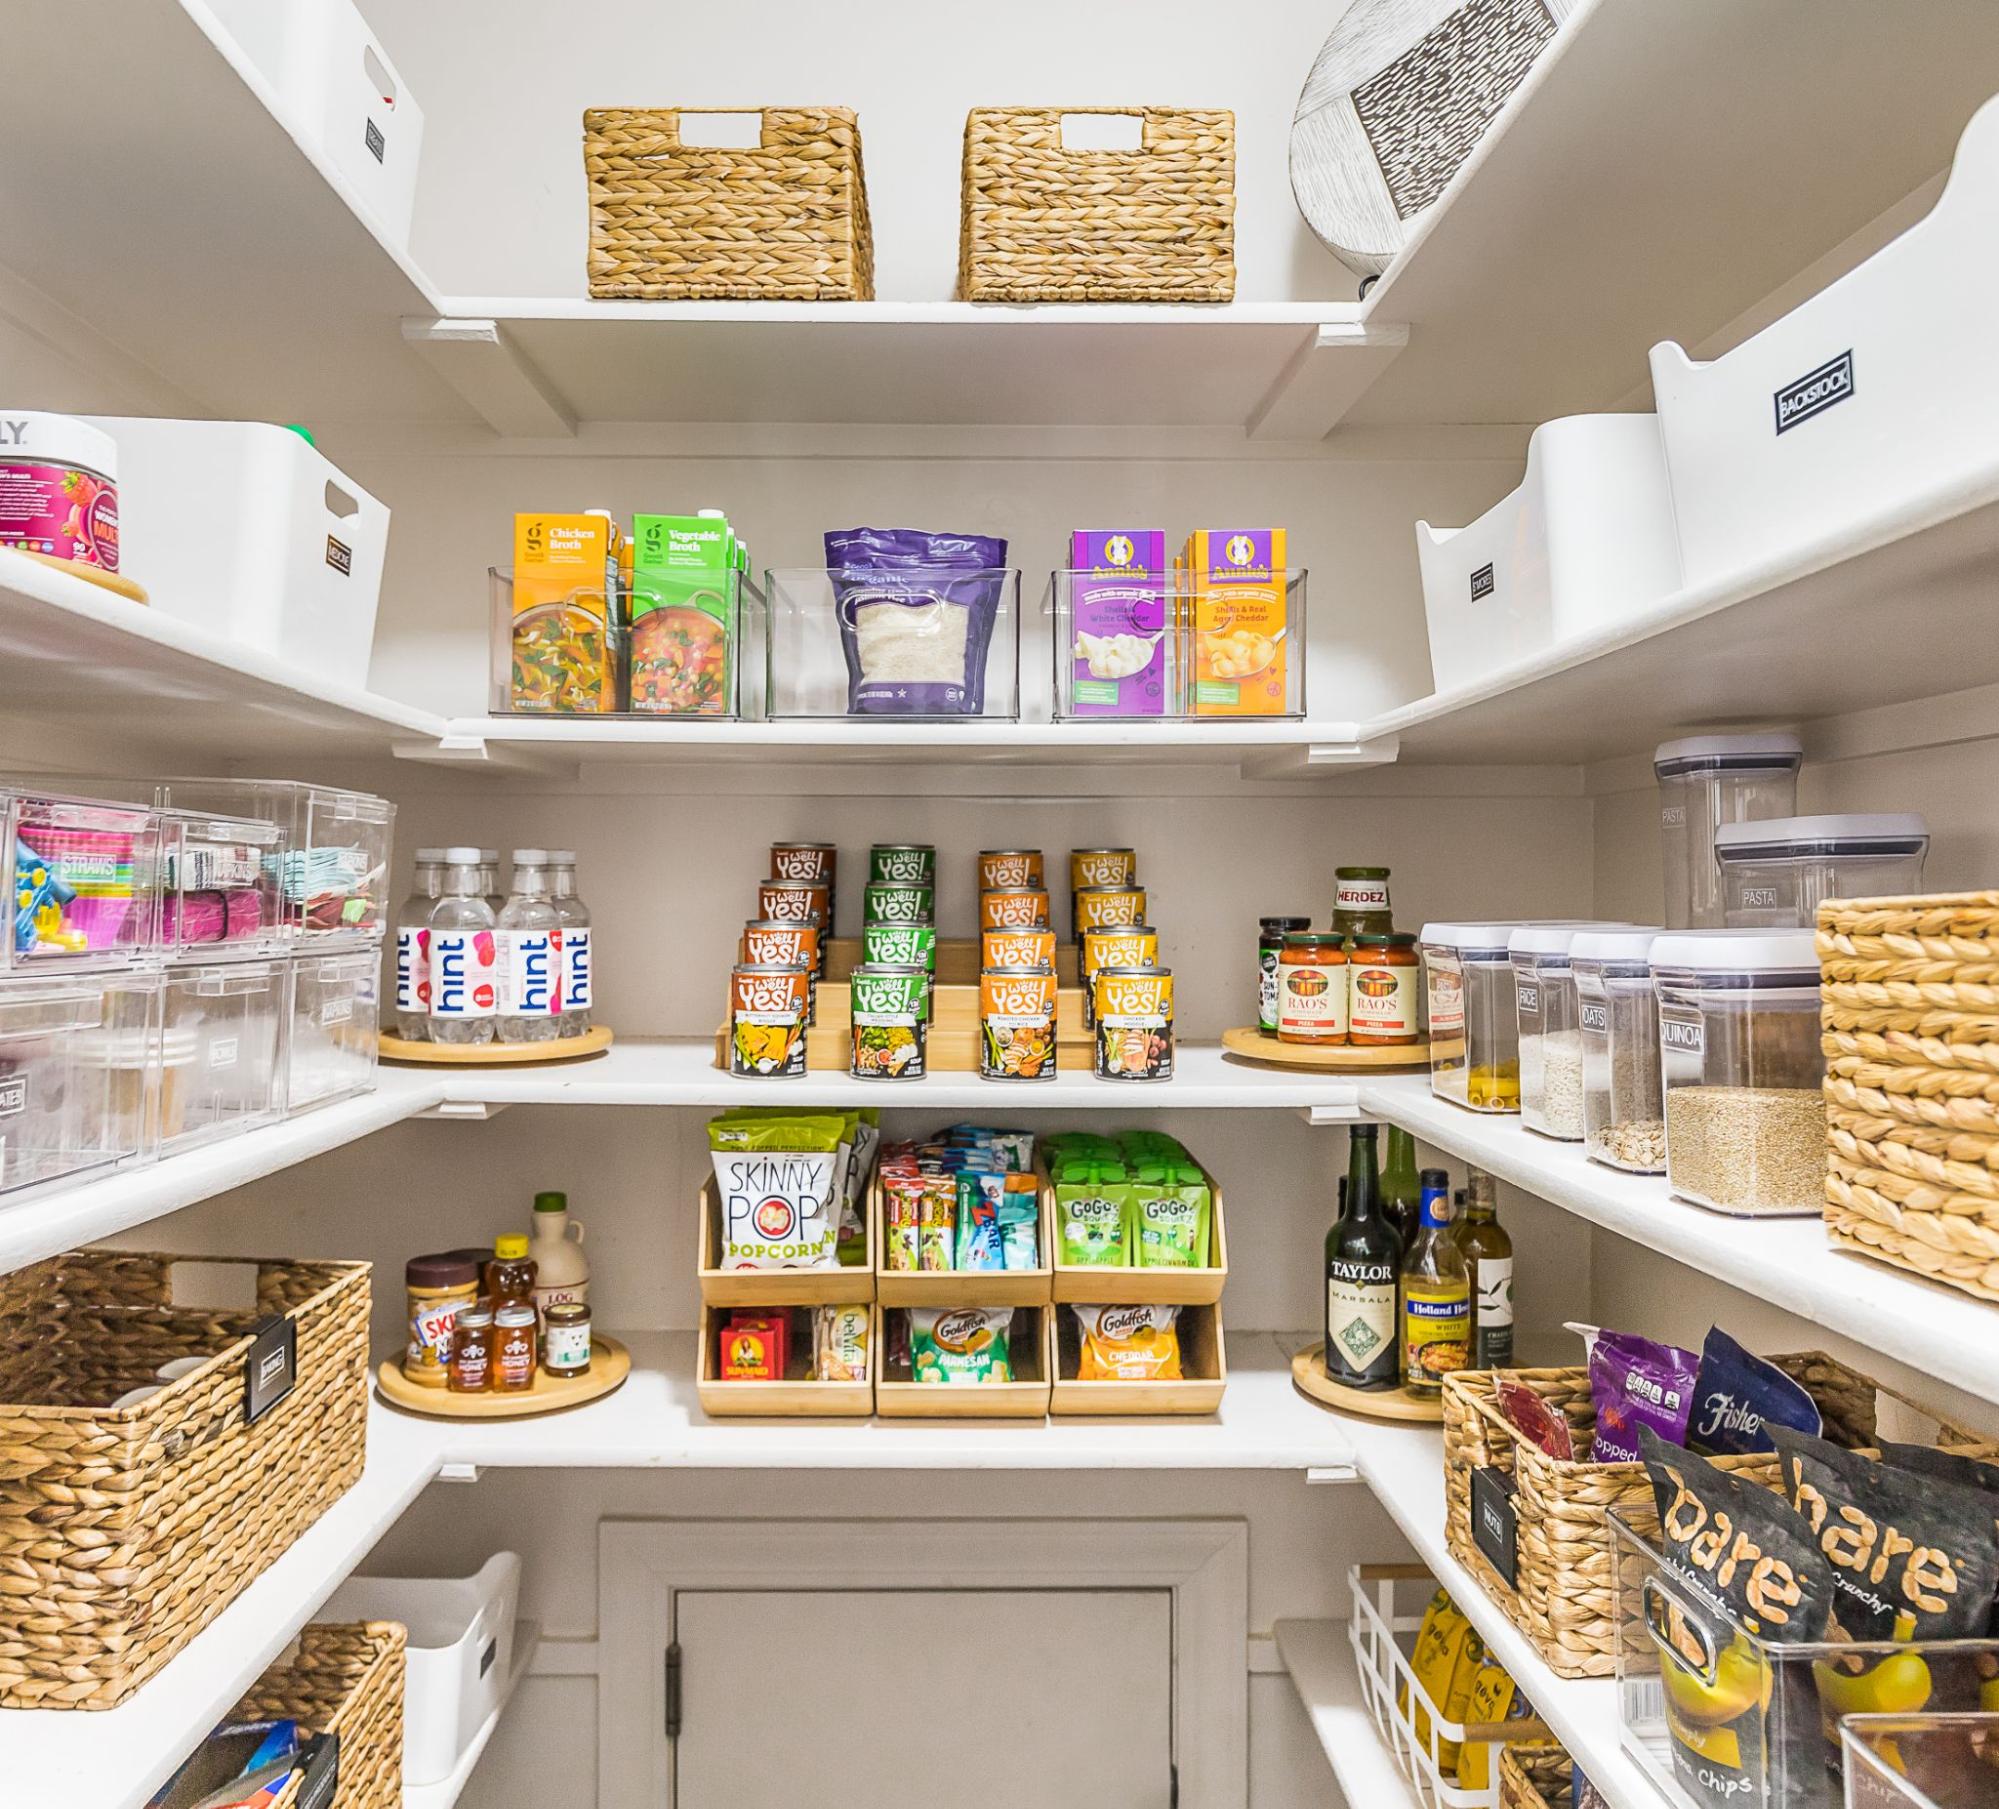
The size of your home organization project will determine how much time you need. Organizing your bins of holiday bits and pieces might just take an hour, but giving your pantry a makeover might take a full afternoon. And when you’re ready to tackle the largest trouble zones—the loneliest parts of your storage room or a dusty attic—you’ll need to allot a full weekend or schedule multiple work sessions to finish it up.
Think of the time you spend organizing as a savings account for the future. Every minute you dedicate to your home organization strategy will pay you back in the future in saved time, money, and frustration.
3 Sort Your Stuff
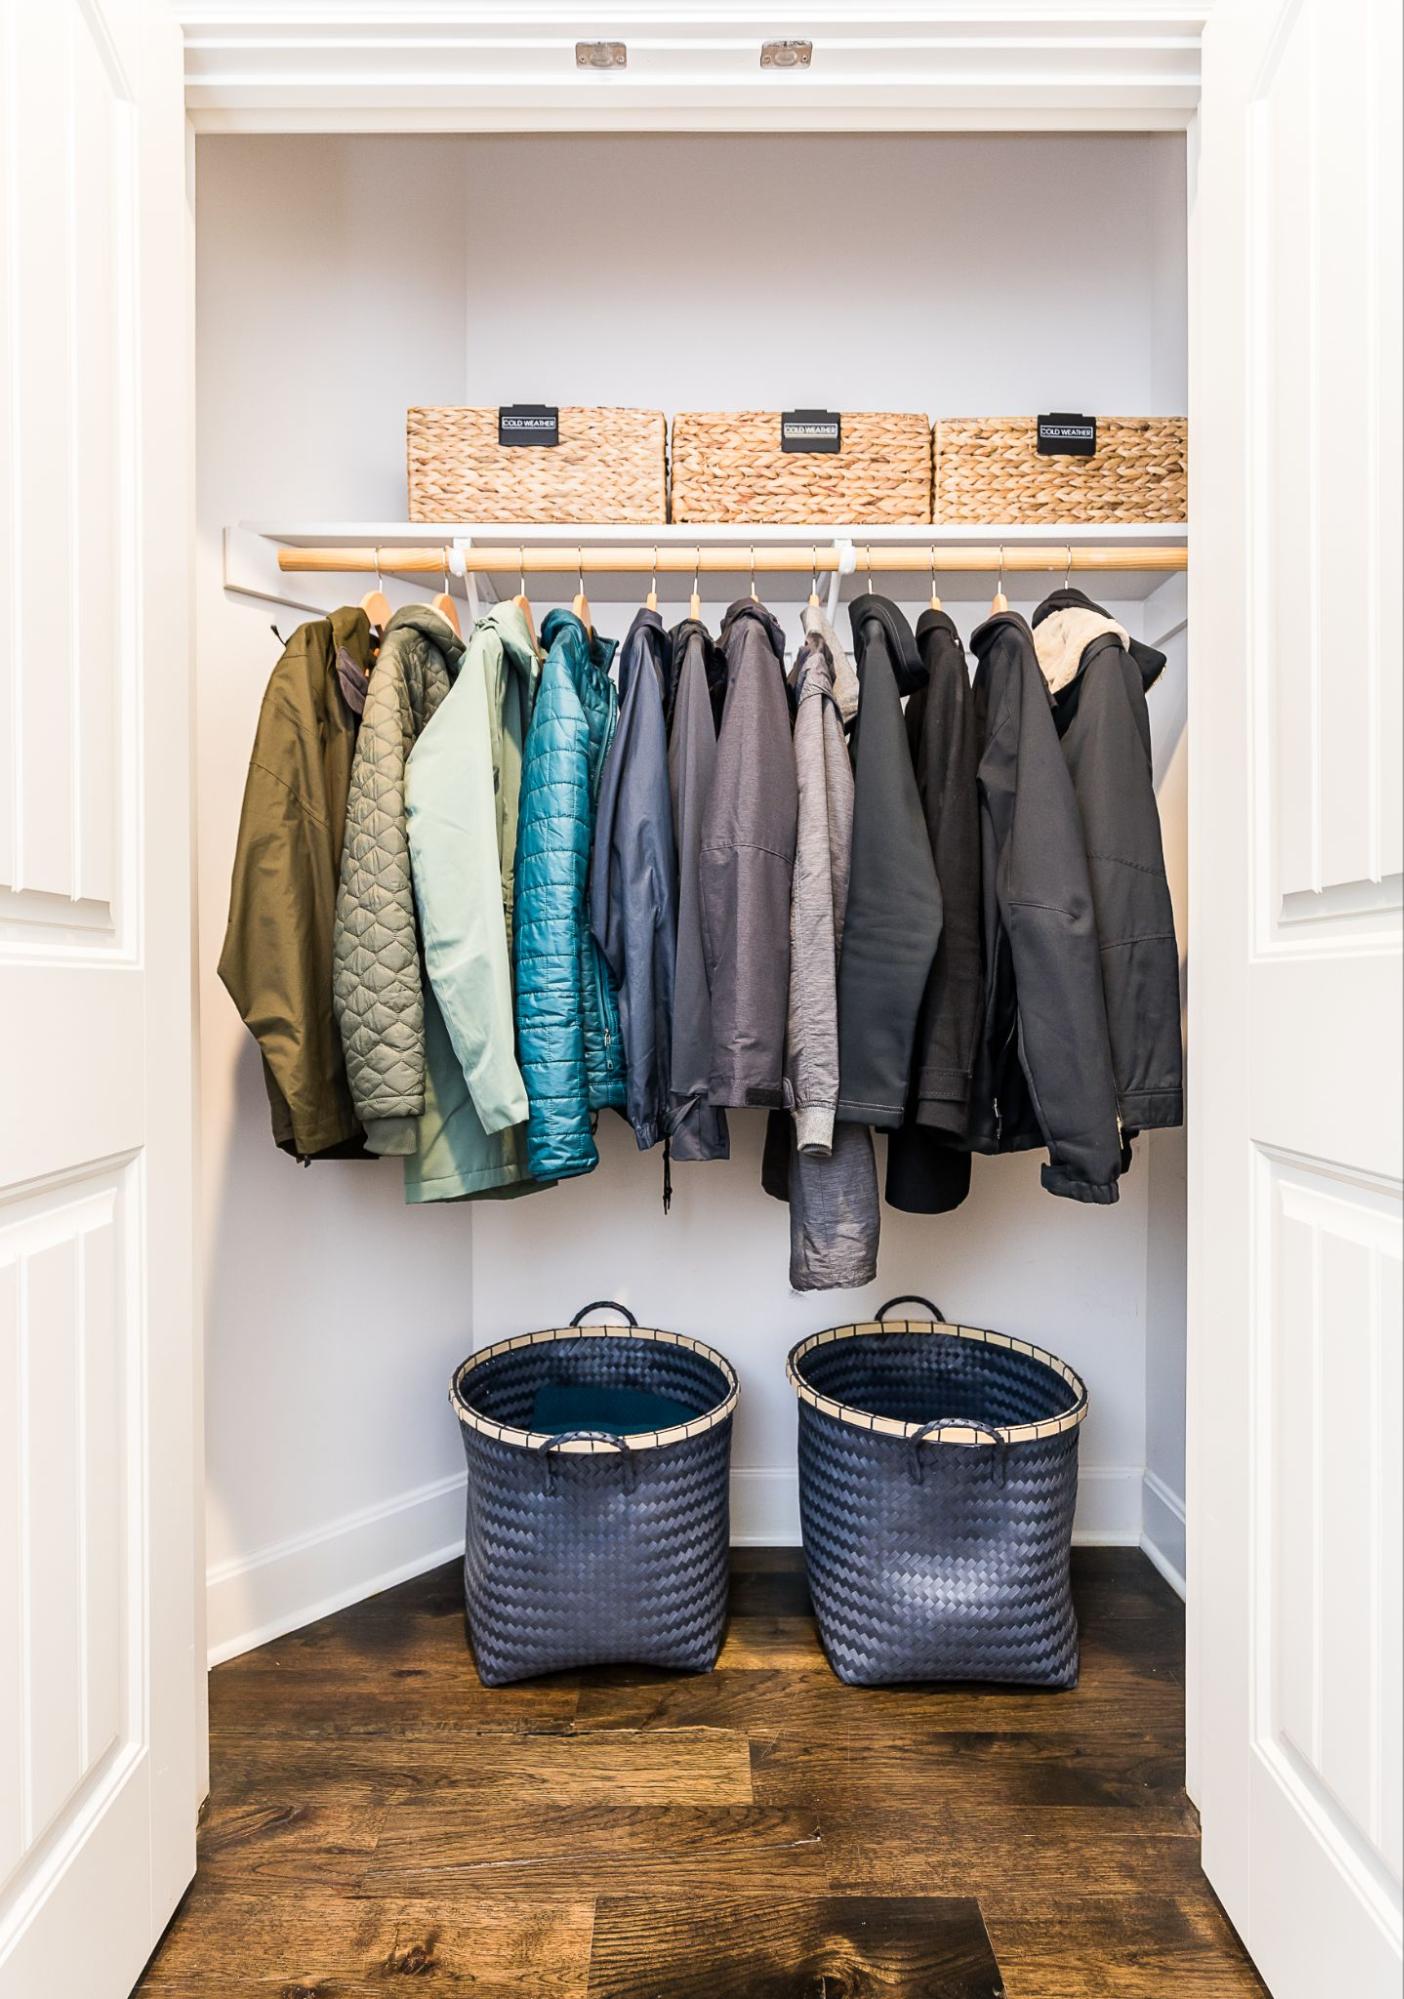
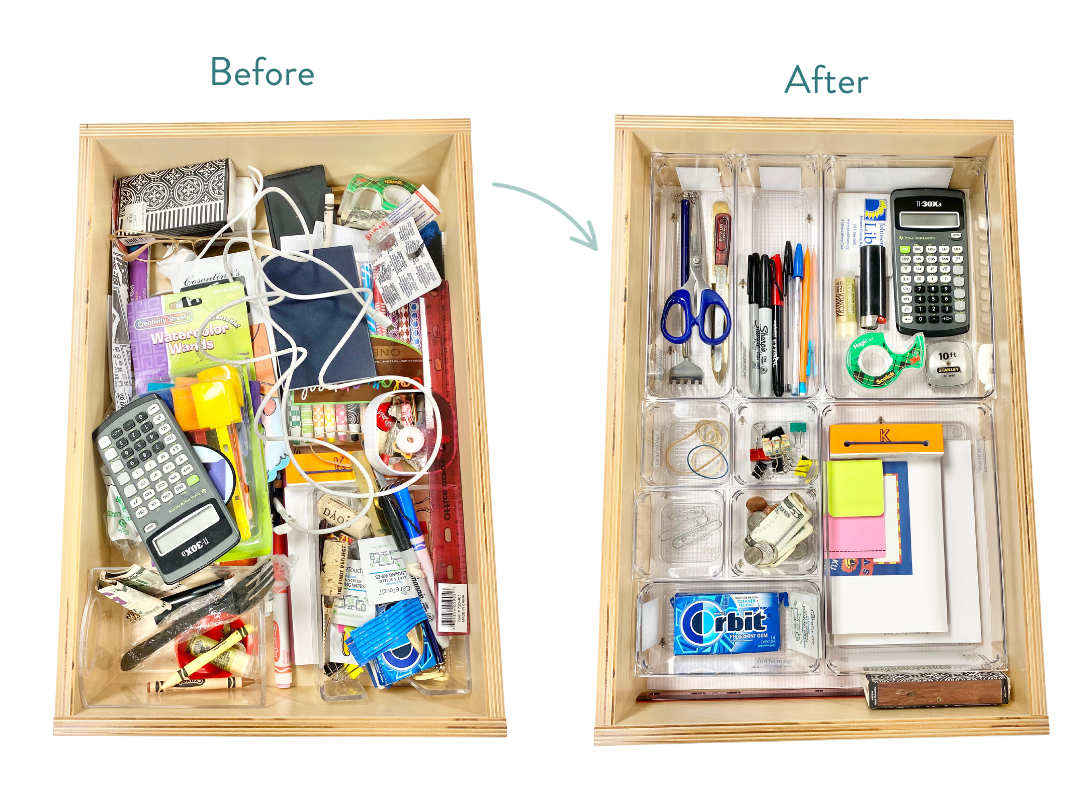
So you’ve picked your trouble spot and blocked off a bit of time on your calendar. So now what? Remember that you can’t organize what you can’t see. If you are starting with a drawer, empty the contents onto a wide open space so that you can really understand what you are working with. If you are beginning with a closet, your first step is to remove everything so that you have the full picture of what needs to be organized.
Let’s imagine you are tackling a kitchen counter that serves as a landing pad for everyone who walks by. Our Bees tell us that every single item on that counter can be sorted into one of the nine categories below.
You are going to need nine different Drop Zones for the organizing and sorting process, and each Drop Zone should be labeled with a Post-it Note or just a piece of tape. For a small project like a drawer, you could have all nine Drop Zones on your dining room table, but if you are organizing an entire room, you will need to spread out.
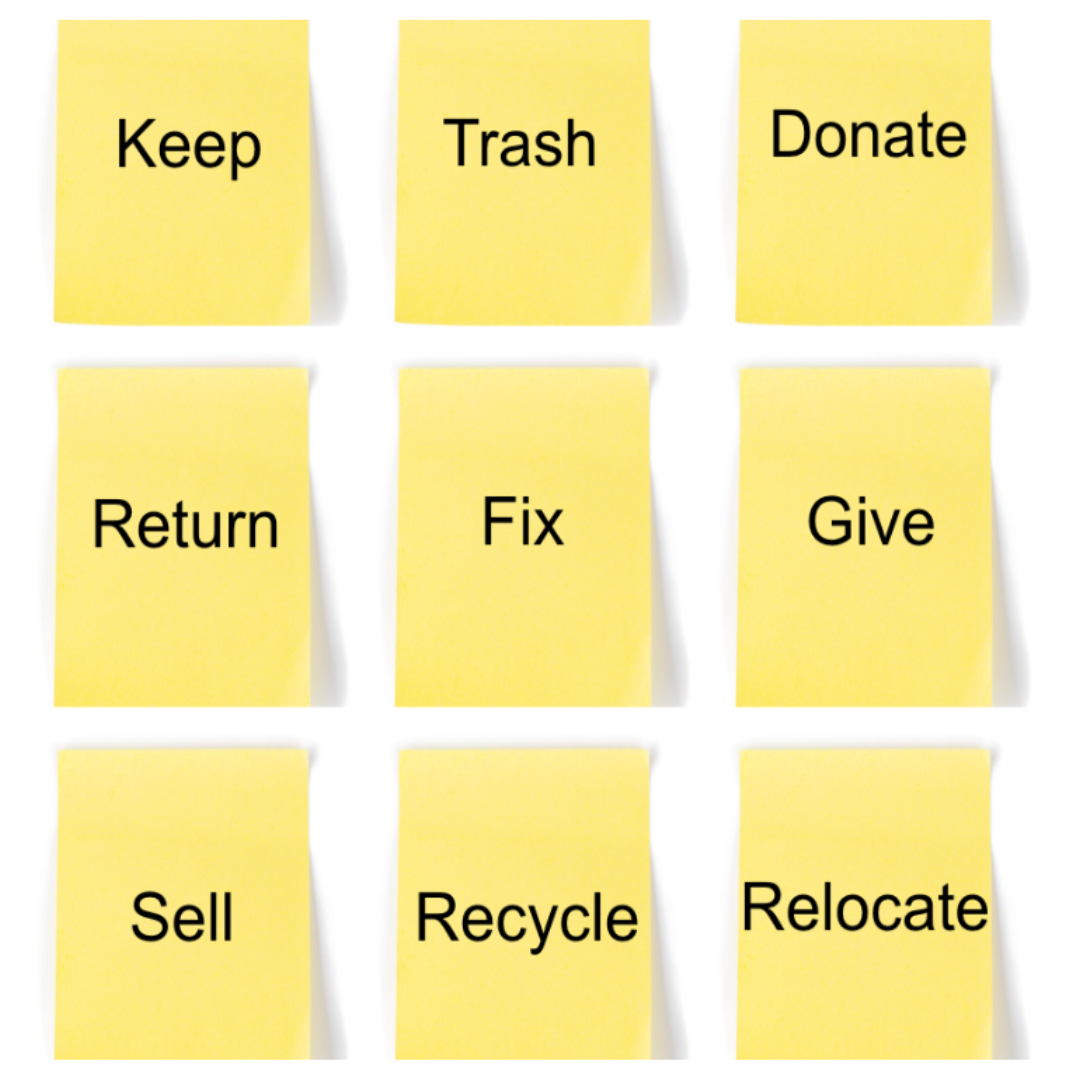
As you examine each item, decide which Drop Zone it belongs in. Remember that there are no right or wrong answers, to be patient with the process, and to withhold judgment! Here’s our simple sorting checklist (Drop Zones) to stay organized and control the clutter:
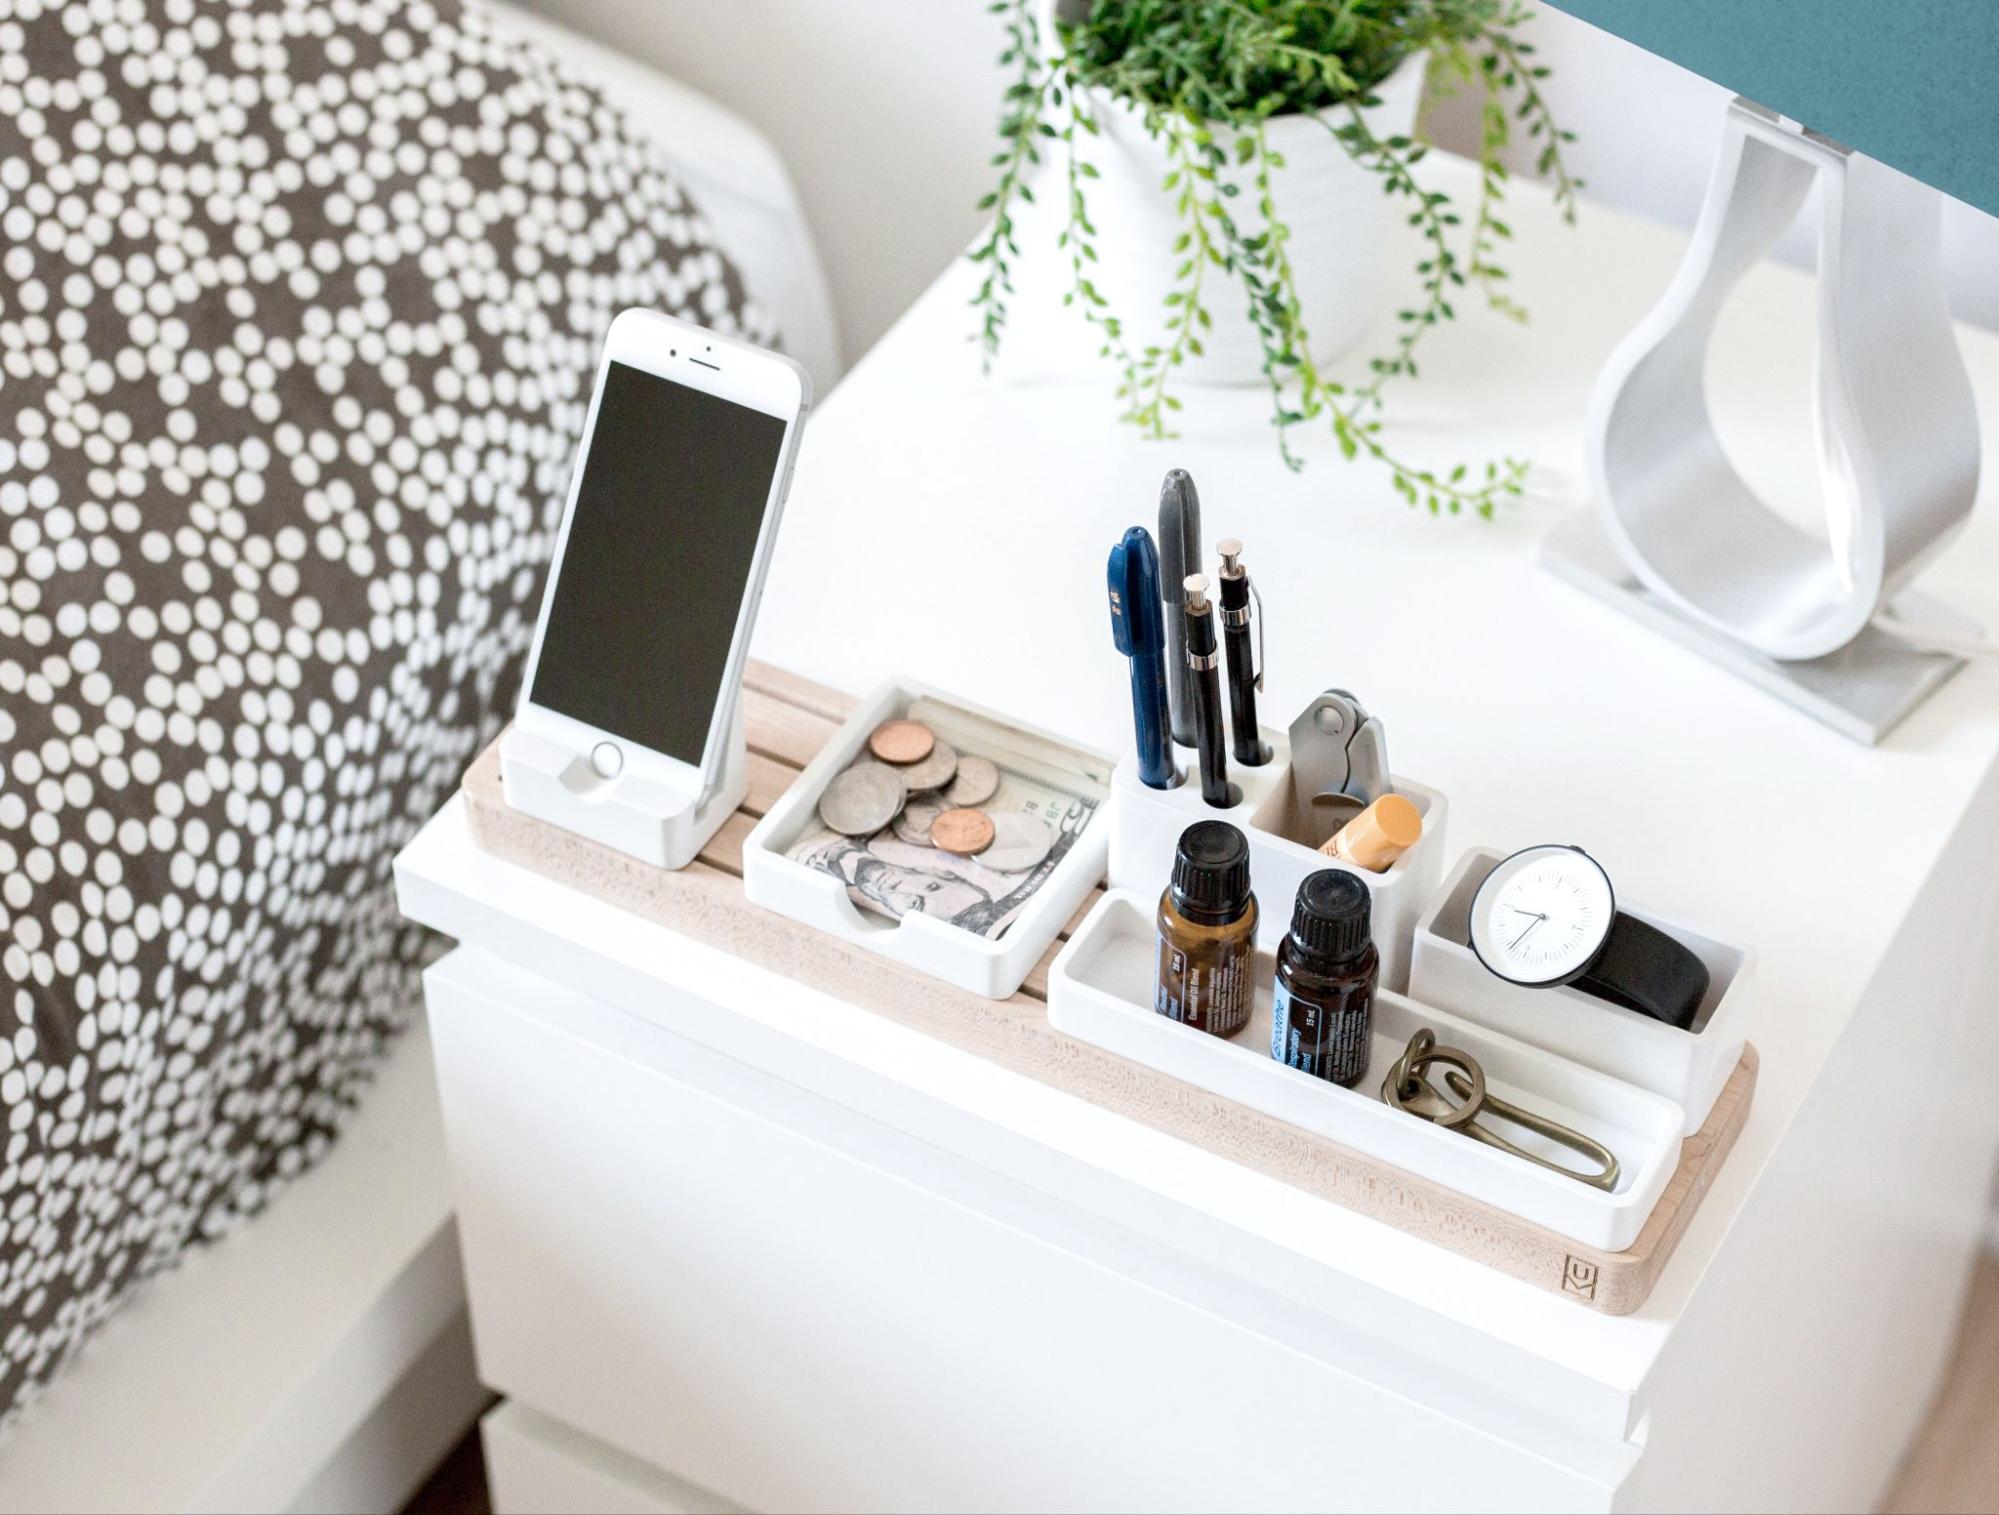
- Keep: Imagine the best use of the space you are organizing and how to make it work for you. The Primary Real Estate in any space should be reserved for those things that you use the most, that you see the most, and that are the most important to you. What items should be in the Primary Real Estate of this space?
- Trash: Some items can go straight to the garbage can: gum wrappers, broken widgets, expired food, and items that have no reasonable use for you or anyone else.
- Donate: Do you see anything that you no longer want or need but still has life left in it? Put all those items in the Donate Drop Zone and you can take the whole lot to the nearest donation site when you have the time, or schedule a pickup for larger items
- Return: One of the most overlooked decluttering tips is returning an unwanted item. Whether it’s something that needs to be returned to a store or to a friend who has a habit of leaving their belongings behind after a visit, place everything that needs to be returned together.
- Fix: Look through the items that remain. Is there anything that is still functional or irreplaceable to you but isn’t operating the way that it should? Maybe it just needs a fresh battery, or some super glue, or a new screen. Put those items that need fixing together to tackle another day.
- Give: Sometimes, you see something in the area you are organizing that would be perfect for someone else. Maybe you pull out a sweater that isn’t really your style but would look amazing on your niece. Or you uncover a long-lost cookbook that would help your friend who’s attempting to learn how to make the perfect omelet.
- Sell: You may come across an item that makes the most sense to sell—especially if it’s in good condition and can fetch enough money to be worth your time and energy to sell it! Set sellable items in a safe place until you are ready to list them.
- Recycle: Most communities have the ability to recycle a whole host of items beyond the obvious food containers and office paper, including electronics, batteries, used oil, and much more. Keeping your recyclable items together makes it easier for you to distribute the items in time-efficient batches.
- Relocate: And finally, your last Drop Zone is for those items that you really want to keep, but just not in the space you are currently tackling. Make a pile of those items that already have a home elsewhere or that you need to create a home for elsewhere.
We often hear that the hardest category to deal with is the last one—how do you relocate an item that doesn’t have a place to go? The last thing you want to do is just to move it someplace else to make clutter for another day! That’s why the next step is so important.
4 Assign a Home For Everything
Organizing goes beyond mere tidying—it’s a thoughtful way to manage our belongings. Assigning every item a designated home is key to gaining control over the clutter in your life. Take another look at the items that don’t already have a place in your home and ask yourself:
- Are these items useful, important, or irreplaceable to you? If they are not, are you sure you need to find a home for them, or do they really belong in one of the other Drop Zones above?
- Does it make sense to group some of the items together in a bin?
- Do related items already have a place in your house? For example, maybe a good place for the candle lighter would be in the same place you keep your flashlights. Maybe the knife sharpener should go in the drawer directly under the knife block because that’s where you would look for it first.
As you think about making a place for those placeless items, remember that the key is to have everything visible and accessible so that you can easily locate and use the item when you need it. Clear storage bins, baskets, and labels are all home organizing tools you can use to keep similar items together, visible, and easily accessible.
Making sure that every item has a home has too many benefits to count . You will save time looking for lost things and cleaning around clutter, your home will be safer and more peaceful, and everyone who lives in your home will be able to more easily clean up after themselves!
5 Maintain
Now that you’ve tamed a space (or more!) in your home, you’ve got to create habits that will keep it that way! A small amount of regular effort goes a very long way in maintaining your new clutter-free space. Here are a few Buzzworthy tips to ensure your organizing efforts last beyond the first week:
- Establish a Routine – Set aside dedicated time regularly to tidy up and maintain your space. This could be a daily or weekly routine, depending on your needs and the size of the space.
- Declutter Regularly – Periodically assess your belongings and perform the Power Purge.
- Designate Homes for New Items – Any time you bring a new item into your space, make sure you find it a home right away. Consider following the One-In-One-Out Rule: for every new item you bring into your space, remove an old or unused item.
- Clean as You Go – Incorporate the habit of cleaning up as you go about your daily activities. Put items away immediately after use, and clean up small messes promptly to prevent them from escalating.
- Involve Everyone – Encourage everyone you’re sharing space with to learn where everything goes and the steps you are taking to maintain the organized spaces.
- Adjust as Needed – Be flexible and willing to adjust your systems as your needs change.
As you get started on this journey, remember that the areas you organize do not have to be perfect, and you don’t have to have your home 100% organized in order to call it a success. We are looking for REAL home organization methods that will help your space be more functional and enjoyable—not the type of organization that only looks pretty on Pinterest.
Once you tame one area in your home—no matter how big or small—you will get energy from that work, and you will be just a little bit faster at working through the next trouble spot. You have the ability to take on this challenge, you have the list of steps to take from our experts, and you have the motivation to get started.
JUST BEEGIN! You’ve got this!
But if you decide you need some organizing help from your local Bees, schedule an appointment today!
